Design Center Guide
The Pulte Homes Design Center:
What to Expect
You signed the contract. Now comes the fun part: choosing every finish at the Pulte Homes design center. Pulte calls it the Home Expressions Studio, and you'll spend a few hours there making decisions you'll live with for years. Here's what to expect.
March 2026 · Finch
What the Appointment
Is Like
One studio, three brands. PulteGroup operates design studios across the country for Pulte Homes, Del Webb, and Centex buyers. Some markets call it the Home Expressions Studio. Others just call it the design center. Either way, it's the same idea: a showroom full of actual samples where you choose every finish for your new home.
Plan for 2 to 4 hours. Your appointment is typically scheduled a few weeks after you sign your purchase agreement. Don't schedule anything right after. Feeling rushed in the last hour leads to decisions you'll second-guess later.
You'll have a design consultant. They walk you through every category, show you physical samples, and help you see how your selections work together. They do this every day and they know the product line well. Ask them questions, especially about which upgrades they see buyers regret skipping.
Everything starts at "included." Each category has a base option that's already in the price of your home. Upgrades are priced as the difference, so a $3,500 countertop upgrade means the one you picked costs $3,500 more than what was already included. You'll see a running total that grows as you make selections, and it adds up faster than most people expect.
What You'll Choose From
Pulte organizes selections into about 15 categories. The exact list varies by community, but here's what most buyers walk through at the studio.
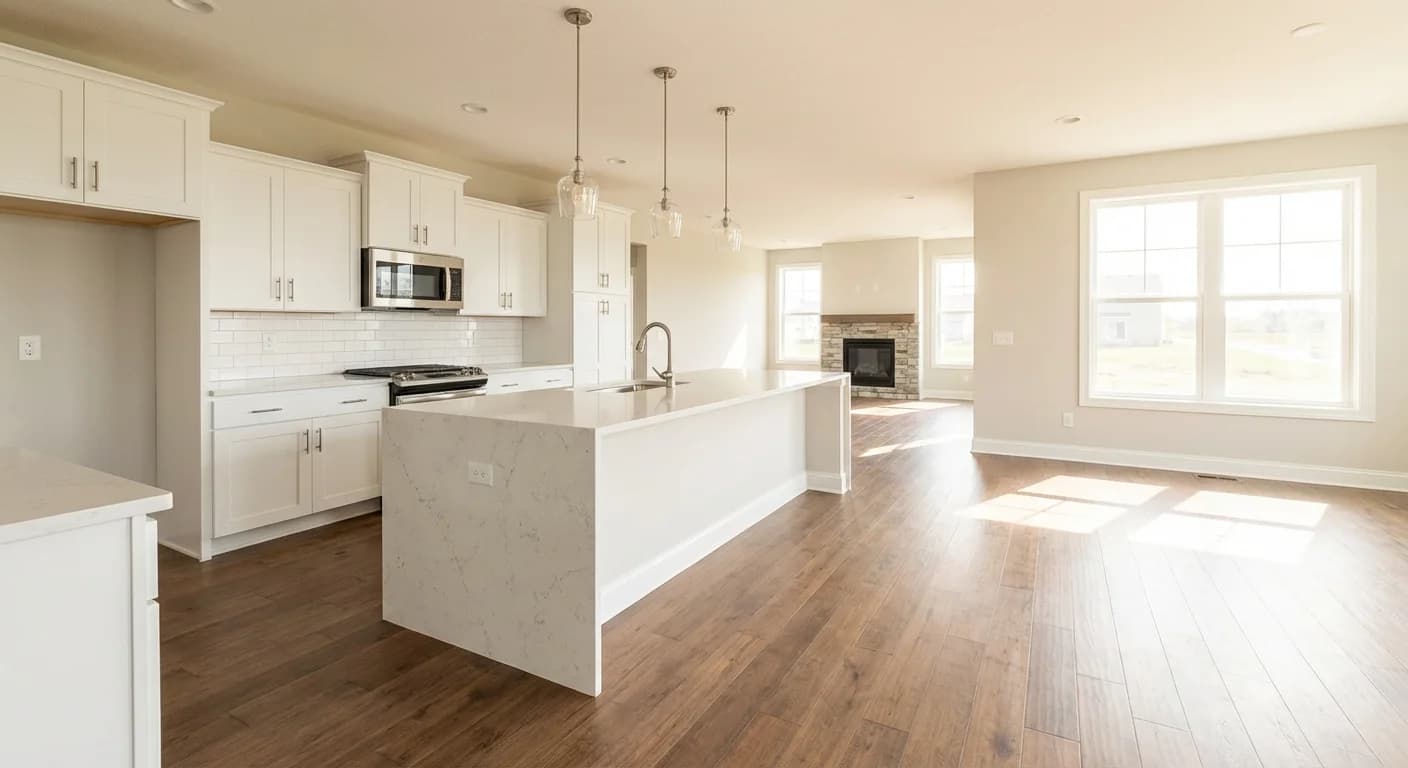
Kitchen and living area
Cabinetry, countertops, backsplash, flooring, hardware, lighting, and appliances all come together in one room.
Cabinetry
Kitchen and bathroom cabinets in a range of door styles, paint colors, and stain finishes. Pulte typically offers soft-close hinges and interior accessories like pull-out trays and lazy Susans as upgrades. Cabinets set the tone for the whole kitchen, so this is worth taking your time on.
Countertops
Granite, quartz, and other surface materials for kitchen and bathroom counters. You'll pick a material, a color or pattern, and an edge profile. Countertops and cabinets need to work together, so you'll usually choose these side by side at the studio.
Kitchen Backsplash
Tile, stone, and mosaic options for the area between your countertops and upper cabinets. Adding a backsplash during construction is cleaner and cheaper than retrofitting one after your cabinets and countertops are already installed.
Flooring
Tile, hardwood, luxury vinyl plank, and carpet. You'll make separate selections for different areas of the house. Flooring is one of the more expensive categories and one of the most disruptive to change after you move in.
Interior Paint
Pulte usually offers a neutral base package that's included, plus two-tone color options as an upgrade. Paint is one of the easiest things to change later, so don't stress too much here. But getting it right from the start saves you a weekend with a roller.
Sinks
Undermount styles in different finishes, depths, and shapes for kitchen and bathrooms. This one is easy to overlook, but you'll use your kitchen sink more than almost any other surface in the house.
Plumbing Fixtures
Faucets, showerheads, towel bars, and coordinating hardware in finishes like brushed nickel, matte black, or polished chrome. Pulte also offers a tankless water heater upgrade in some markets.
Bathroom Tile & Surrounds
Tile combinations for shower surrounds, bathroom floors, and tub decks. These selections work together with your cabinet and countertop choices to set the look for each bathroom.
Light Fixtures
Fixture packages in different styles and finishes, recessed can lights, pendants, and ceiling fans. You'll also choose from options for under-cabinet lighting in the kitchen. Electrical work is structural, so adding can lights or fan boxes later means opening up the ceiling.
Door Hardware
Handles and locksets for interior and exterior doors in transitional and contemporary styles. A small upgrade that changes the feel of every room you walk into.
Doors & Woodwork
Interior door styles, exterior door upgrades, staircase details (newel posts, balusters, stain colors), and trim work like baseboards and crown molding.
Framed Mirrors
Framed mirror upgrades for select bathrooms, replacing the standard unframed builder mirror. A small change that makes a bathroom look more finished.
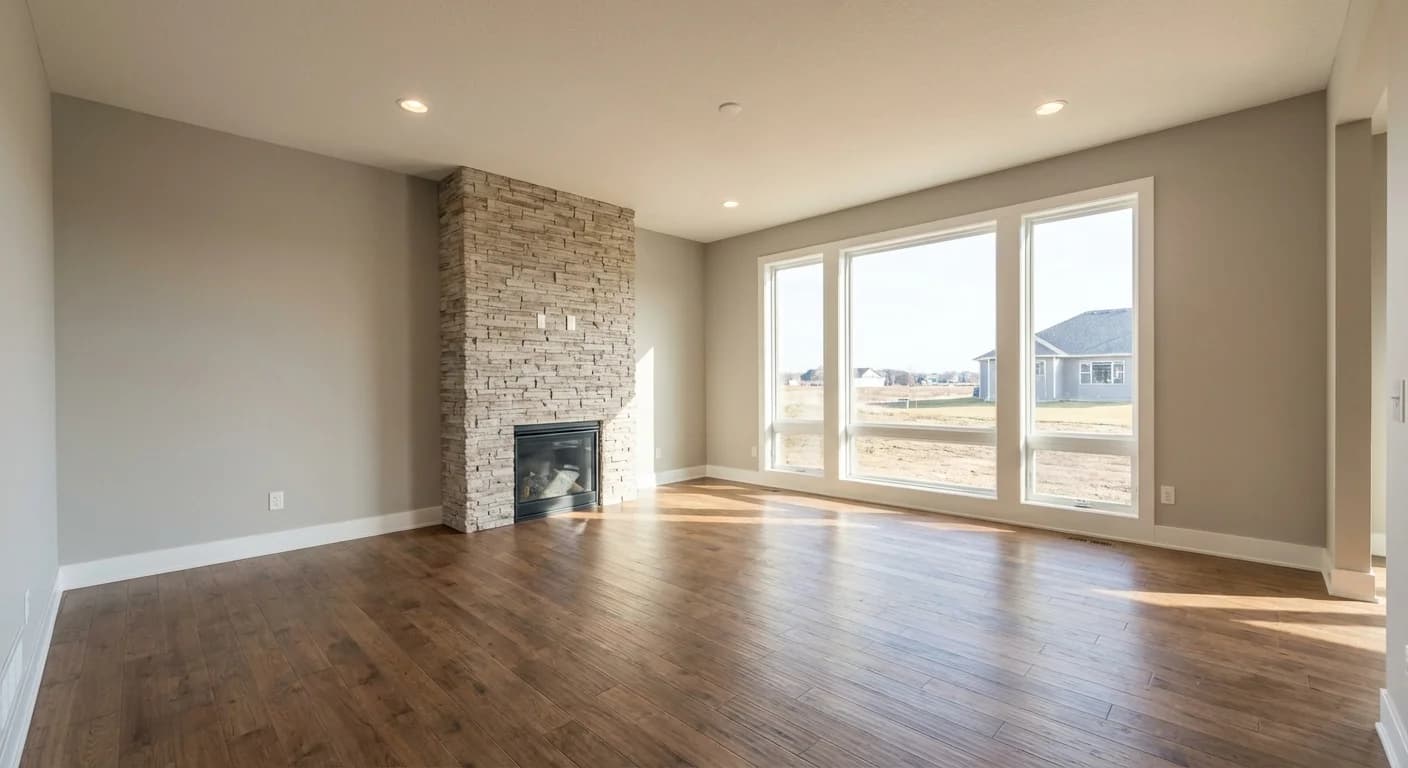
Fireplace
Fireplace surrounds, mantles, and design styles. In many Pulte communities, the fireplace selection is made at contract rather than at the design studio. Check with your sales counselor.
Electrical
Additional outlets, specialty outlets, and exterior lighting. Some communities also have a separate low-voltage appointment for entertainment wiring, security systems, and cameras.
Appliances
Range, refrigerator, dishwasher, and microwave options. What's included in the base price varies by community, so ask your sales counselor before your appointment.
How to Prepare for
Your Appointment
A little prep goes a long way. People who walk in with a plan spend less time agonizing and more time getting excited about their home.
Walk the models first
Visit the model homes in your community before your studio appointment. Take note of finishes you like and don't like. The models are designed to show upgraded options, so they're a good reference point for what's available.
Set a budget range for upgrades
Not a vague "we'll see how it goes" but an actual number. A common starting point is around 10% of your base price, but this varies a lot depending on the community and what's already included. Having a ceiling in mind makes it easier to make tradeoffs during the appointment.
Know what's hard to change later
Electrical work, plumbing rough-ins, flooring, and cabinets are all expensive or disruptive to change after you move in. Paint, hardware, and light fixtures are easy to swap anytime. Prioritize the structural and hard-to-redo categories first.
Bring inspiration photos
Screenshots from Pinterest, Houzz, or Instagram give your design consultant a starting point for your taste. You don't need a mood board. A few photos of kitchens or bathrooms you like is plenty.
Leave the kids at home
Pulte's Home Expressions Studios have heavy samples on shelves and large display boards. Most studios ask that only the buyers attend. It's not a great environment for kids, and you'll want to focus.
Take photos of everything you pick
Front and back of samples, the label with the name and level, the manufacturer info. You'll look at dozens of options across 15+ categories, and they blur together fast. Photos are your insurance.
Selections are final
After your final design studio appointment, your selections are locked in. Some changes may be possible early in construction, but don't count on it. Take your time during the appointment and make sure you're comfortable with every choice.
Where to Spend and
Where to Save
Not all upgrades are created equal. Some are expensive to change after you move in. Others you can swap in a weekend. Knowing the difference will save you money.
Do it now: Electrical work (can lights, fan boxes, extra outlets), plumbing rough-ins, flooring, cabinets, and countertops. These are either structural (behind walls) or disruptive to replace once you're living there. If you're going to upgrade anything, start with these.
Can wait: Paint, bathroom mirrors, door hardware, and basic light fixtures. These are all relatively easy and inexpensive to change later. If you need to trim your upgrade budget, these are the categories to pull back on.
The kitchen drives most of the upgrade spend for a reason: cabinets, countertops, backsplash, and appliances all live in one room, and they all need to work together. Most buyers allocate about half their upgrade budget to the kitchen and split the rest between bathrooms and everything else. For a deeper look at each category and what's worth the money, see our complete guide to new construction upgrades.
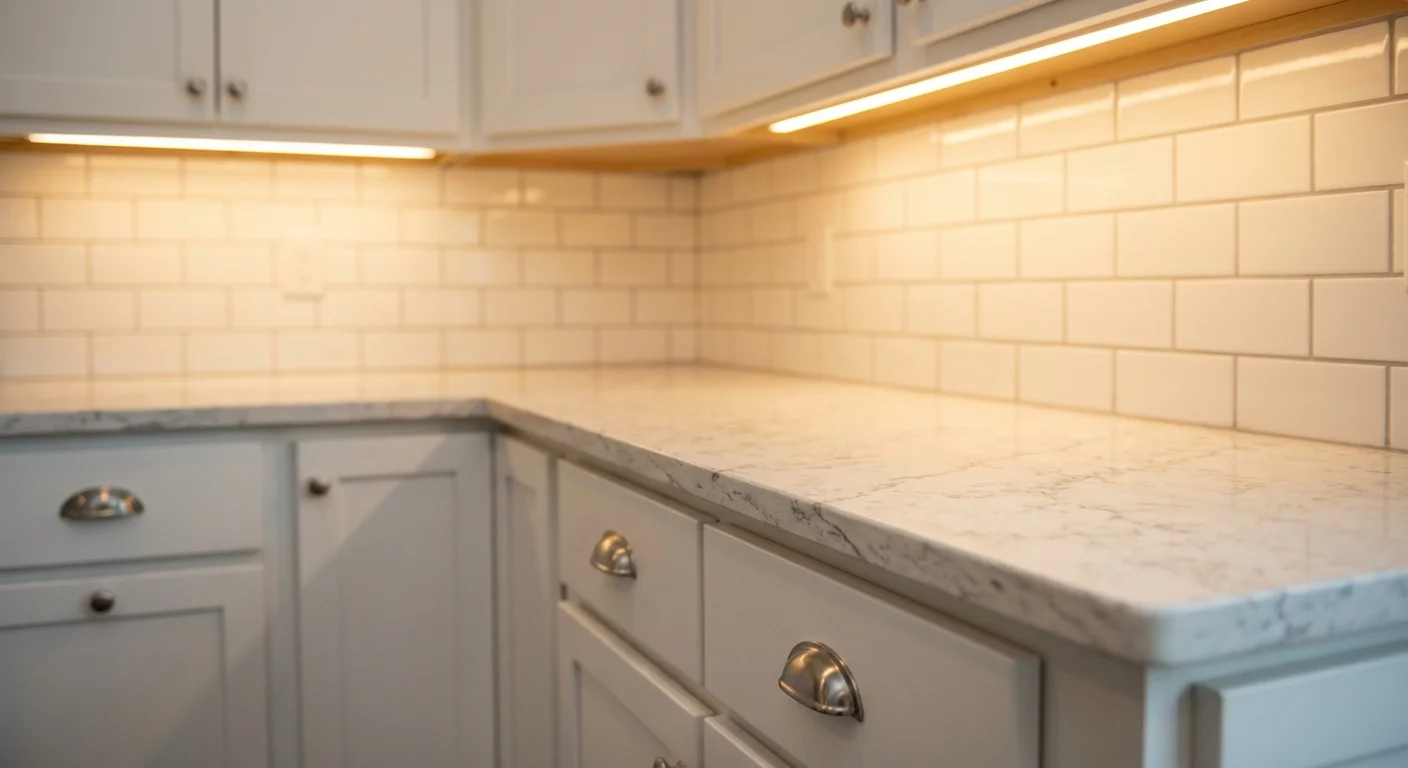
The junction that matters
Where cabinet meets countertop meets backsplash. This is the combination you're trying to picture from three separate 4-inch samples on a shelf. Getting these right together is more important than getting any one of them right individually. That's exactly what Finch does: you pick finishes and it generates a photo of the room with those selections applied. You can try a demo with sample finishes to see how it works.
See What Your Upgrades
Could Look Like
The hardest part of the design center is picturing how everything looks together. You're choosing from small samples and trying to imagine them in a full room.
Finch solves that. You pick finishes from real swatches and it generates a photo of the room with your selections applied. The demo below uses sample finishes, not Pulte's actual catalog, but it shows you what the experience looks like. Imagine doing this with your real floorplan and the actual options from the studio.
Are you a builder? See how Finch works with your catalog
The design center is the best part of building a new home. You get to choose everything, and when it's done right, you walk into a house that feels like yours from day one. The trick is going in prepared, knowing where to invest, and being able to picture how it all comes together. That last part is what Finch was built for. You can try the demo to see what it's like, and if you want the real thing with your builder's catalog, it's worth mentioning to your sales rep.